Outline
- Why Do You Need A “Continue Shopping” Option For Your Checkout Page?
- How To Add “Continue Shopping” Button?
- How To Customize Your “Continue Shopping” Button Styling?
I. Why Do You Need A “Continue Shopping” Option For Your Checkout Page?
The ultimate goal of any eCommerce business is to maximize the conversion rate gained through their money site.
Every button, image, or piece of content displayed on a website has the incredible power to influence customer behaviors, which are always a matter of concern for shop owners. Hence, the Continue Shopping option means much more than a button. I will show you briefly.
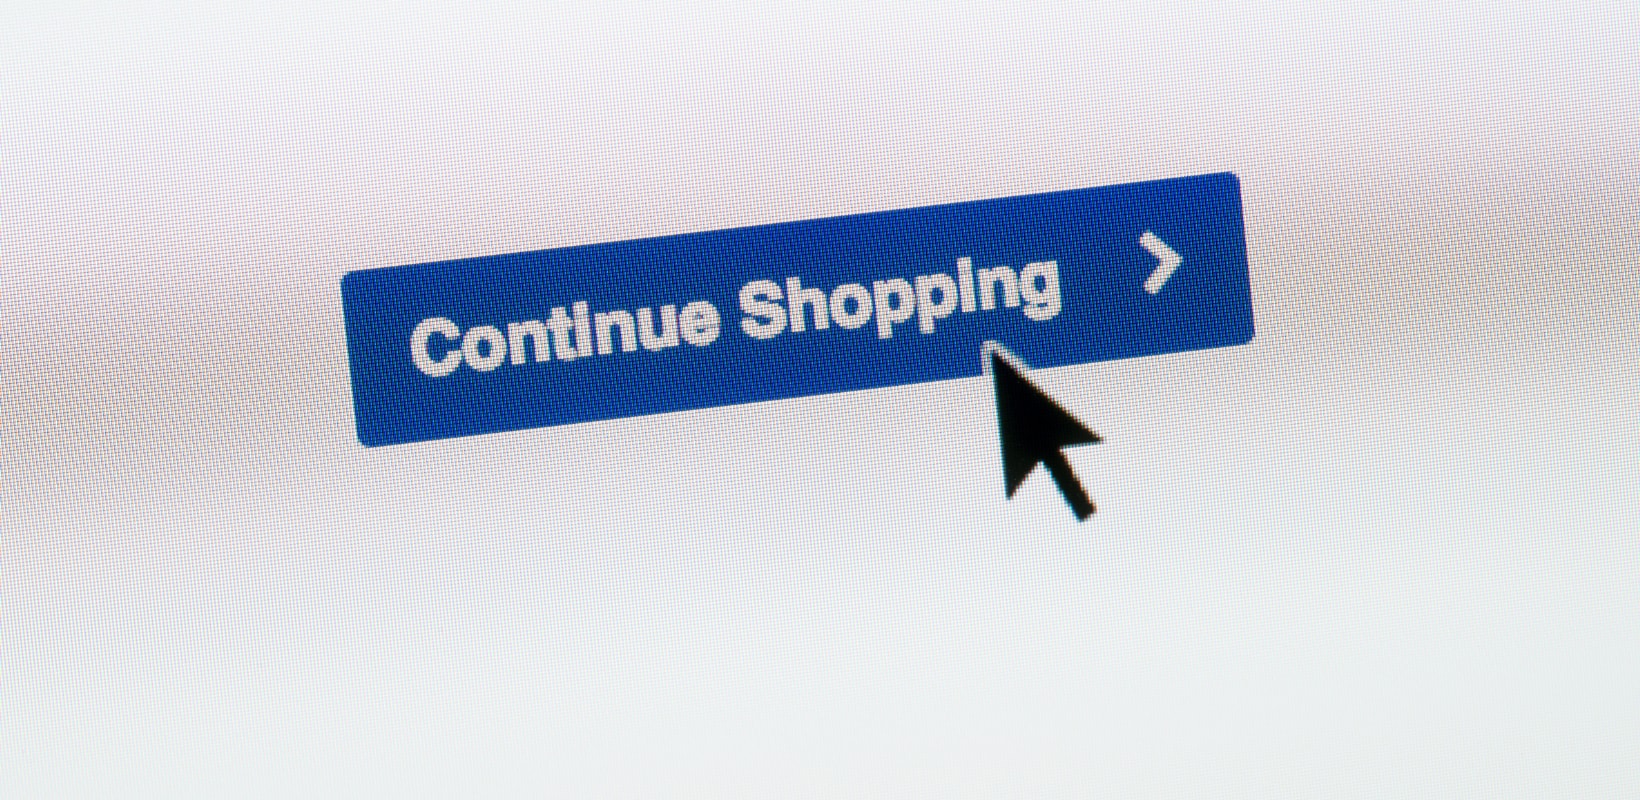
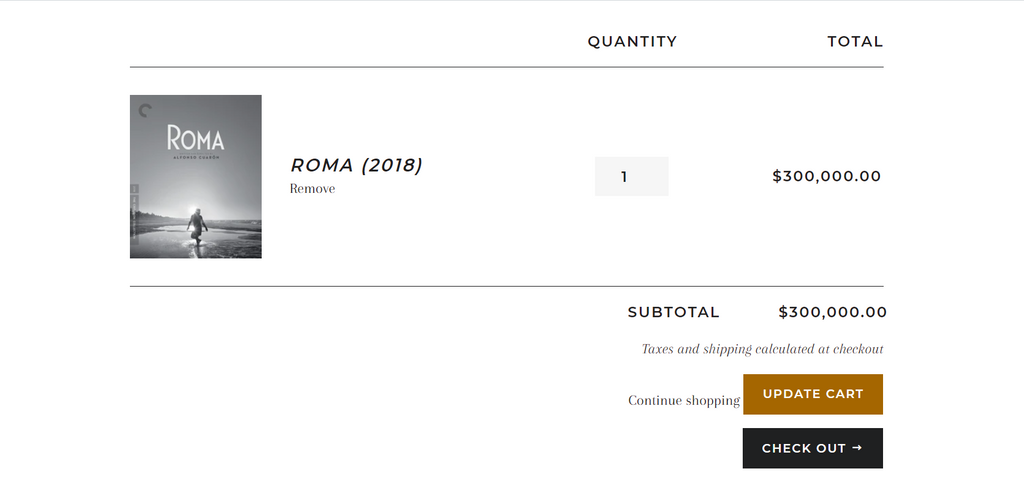
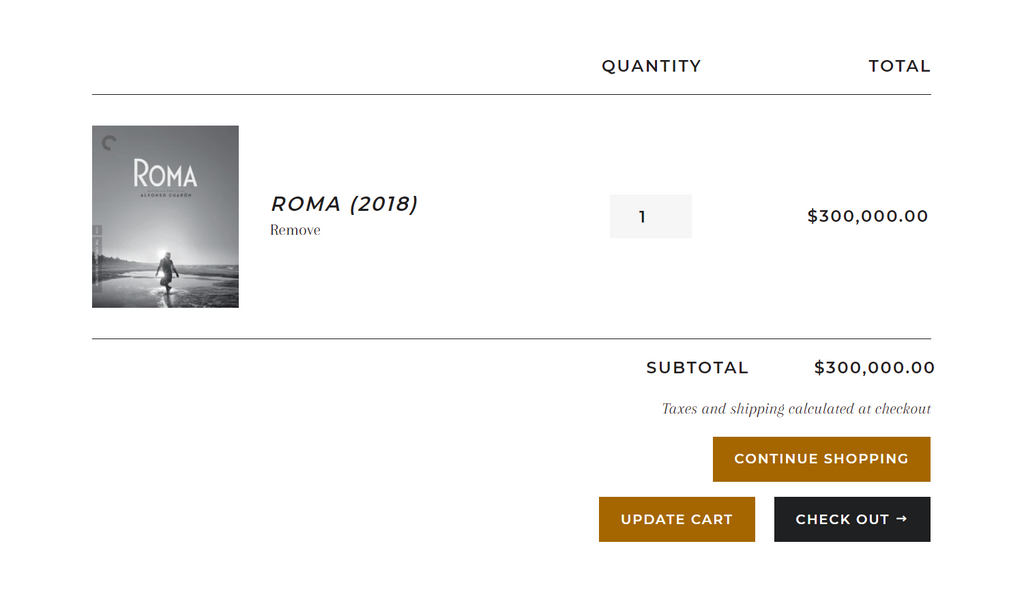
Let’s imagine you are a shopper roaming around for some favorite items. You found it and added it to your cart. Now, the system will direct you to a page like below, but you want to get back to your recent collection to browse for more items. What should you do? If the Continue Shopping option isn’t there, you will have to get back to the home page and retake your route. But when such a button is present, you will be able to return to your feed in one click! Now you have more reasons to stay.
Generally, you can encourage shoppers to fill their cart with more products just by adding a button. It means more sales, more loyalty in the end. There are several choices for you to decide which page your customers will land at, such as the catalog page, the last product page they just left.
II. How To Add “Continue Shopping” Button?
Since adding the Continue Shopping option involves the use of coding, it may seem to be tricky at first, especially for beginners. However, you don’t necessarily have some knowledge of coding to perform this task. All you need to do is looking at the step-by-step guideline prepared below. Let’s get started!
Step 1: Log in to your Shopify admin, then go to Online Store => Themes.

Step 2: Choose the theme you want to edit (current theme) and click Actions => Edit code.

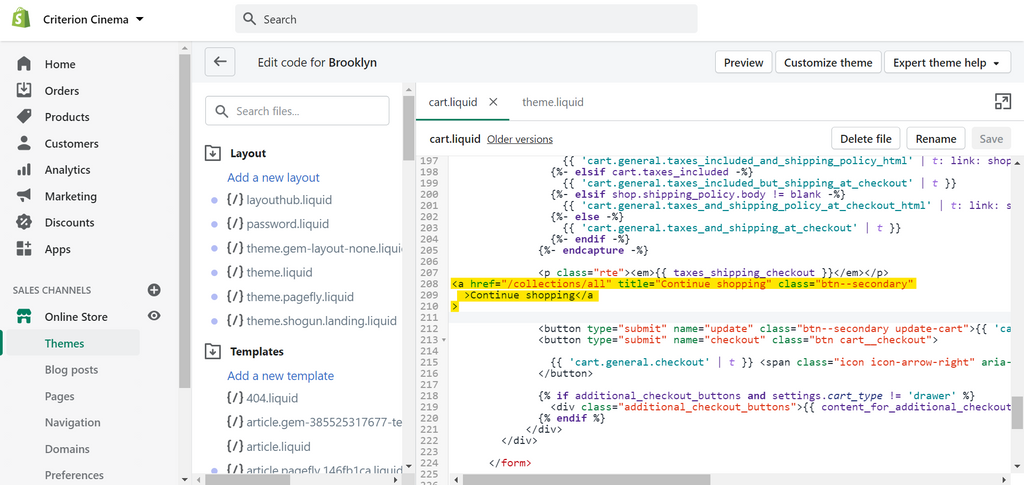
Step 3: In the Templates directory, select cart.liquid. Here, look for the direction to your cart-template.liquid file. Most of the time, this Cart Template file is in your Section directory.
Now to avoid any technical jargon, imagine cart.liquid file as a house, and cart-template.liquid is a your bedroom. You'd need to add the Continue Shopping button to your bedroom door.
It is worth mentioning that not all the themes have cart-template.liquid in its Sections directory. So, in this case, you just need to find cart.liquid in Templates.


As you can see, there is no cart-template.liquid for the Brooklyn theme.
Step 4: Go to your cart and click “inspect” the check out button.

Step 5: For finding the code of the Checkout button, you need to search for name="checkout". You will find a line of code that looks like this.

This line of code varies among themes, so don’t worry if yours is quite different from mine.
Step 6: Copy the content of ‘class’ and find it in cart.liquid (or cart-template.liquid).

Then, find “btn cart__checkout” to find the code for the Check Out button like below.

Step 7: It’s time to insert a new line of code.
To create a Continue Shopping link, you first need to decide which page you would like to direct your shoppers to when they click "Continue Shopping button".
I’ll show you the code for different options below.
01. For a link that directs to the catalog page
If you want to lead customers back to your catalog page, use the following code on a new line before the code of Update Cart button.
<a href="/collections/all" title="Continue shopping">Continue shopping</a>

Now, turn to your cart page and you will find the Continue Shopping button added.
When I click “Continue shopping”, I can return to the product page.
02. For a link that directs to the last collection visited
You might want your customers to land at the last page they viewed, instead of the catalog page. In this case, you need to insert some JavaScript into your theme code by following the next steps.
- Find theme.liquid in the Layout directory.

It is easy to locate the theme.liquid as all themes have it.
- Take a look at the bottom of the file to find the closing </body> tag. Here, you have to paste the code below right before the </body> tag.
<script>
if(Storage !== undefined) {
var defaultLink = "/collections/all";
{% if template contains 'collection' %}
sessionStorage.collection = "{{ collection.url }}";
{% endif %}
{% if template contains 'cart' %}
if( !sessionStorage.collection ) {
sessionStorage.collection = defaultLink;
}
document.getElementById("continue-shopping").href = sessionStorage.collection;
{% endif %}
}
</script>

- Click “Save” and enjoy your results.
Now, go to your cart page and click Continue Shopping to see what will happen.
III. How To Customize Your “Continue Shopping” Button Styling?
Once you added the Continue Shopping button successfully, it’s time to give it some customization. A plain-text button is not so attractive to appear on a beautiful, professional e-commerce website. Just by adding some details to the code of your button link, you can have a button of whatever style you desire. For that reason, it’s worth scanning the helpful guideline provided below.
There are two options for styling your Continue Shopping button. The first is customizing it to match the style of other buttons in your theme. Another one is giving it a completely new style based on your liking.
1. Add Styling That Goes With The Current Theme
Here, you can choose to apply either primary button styling or secondary one to your Continue Shopping link. All you need is to replace the line of code for the Continue Shopping link with one of the codes below.
a, Primary button design
<a href="/collections/all" title="Continue shopping" class="btn"
>Continue shopping</a
>


b,Secondary button design
- For those who use free theme
<a href="/collections/all" title="Continue shopping" class="btn--secondary"
>Continue shopping</a
>
- For those who use Supply theme
<a href="/collections/all" title="Continue shopping" class="btn-secondary"
>Continue shopping</a
>
2. Add Styling That Is To Your Taste
Step 1: Open cart.liquid in the Templates directory (or cart-template.liquid in Sections if you can find this file).
Step 2: Change your current code for the Continue Shopping button into the code below.
<a href="collections/all" id="continue-shopping" class="btn btn--secondary cart_update cart_continue--large small-hide">Continue Shopping</a>
Step 3: Scroll to the bottom of the file and insert the following code for styling.
<style>
#continue-shopping {
font-size: 12px;
color: yellow;
border-color: red;
border-width: 2px;
border-style: solid;
}

The modification of font size, color, or border style of the button is always up to you.
Step 4: Click “Save”

Here is the Continue Shopping button with the chosen style.
You’ve grasped all knowledge about creating a Continue Shopping option and customizing it to your preference. For a more lucrative business, try it without any hesitation!