Shopify and WooCommerce are the two leading solutions for building e-commerce websites. They both come with a variety of powerful and handy features but each is more suitable for different needs of merchants. As a result, you need to research and test carefully to choose the best platforms for you. For an in-depth comparison between these two giants, take a look at this WooCommerce vs Shopify analysis.
If you’re reading this article, you must be considering making a switch from WooCommerce to Shopify. And yes, I’m going to walk you through an A to Z guide on how to do it.
Don’t wait any longer, let’s get started!
Step 1: Decide the most optimal way to migrate from WooCommerce to Shopify
Currently, there are 3 ways to migrate from WooCommerce to Shopify. Before jumping into a step-by-step instruction, let’s analyze a bit and decide which way is the most optimal.
The 3 ways are:
- Manual migration: Export and import manually
- Hire a web development agency or freelancer
- Use an automated shopping cart migration solution (In this case, we will take LitExtension as an example because it is the most popular at the moment)
Now, let’s examine the pros and cons of each option:
| PROs | CONs | |
| Manual migration |
|
|
| Hire a web development agency or freelancer |
|
|
| Use an automated shopping cart migration solution |
| Unexpected errors may still happen at times, however, the chance is slim and LitExtension has an enthusiastic and professional support team who are 24/5 active to help you deal with them. |
After this analysis, I can conclude that using an automated shopping cart migration solution is the easiest, fastest and the most affordable solution. Therefore, I will now show you the whole process of moving your store from WooCommerce to Shopify with the help of LitExtension automated solution.
Step 2: Set up your Shopify store
Related article: Get The Best Shopify Discount Code In 2022
To perform a migration, of course, you need a target store set up in advance. In order to start using Shopify, all you need to do is sign up for an account.
Go to the Shopify website, and click “Start Free Trial”. After that, fill in your desired email address password and store name.

Please note that you will need to choose a unique store name, otherwise Shopify will not allow you to purchase the domain.
Then click “Create your store”, you will then be asked to tell a little about yourself and your business.
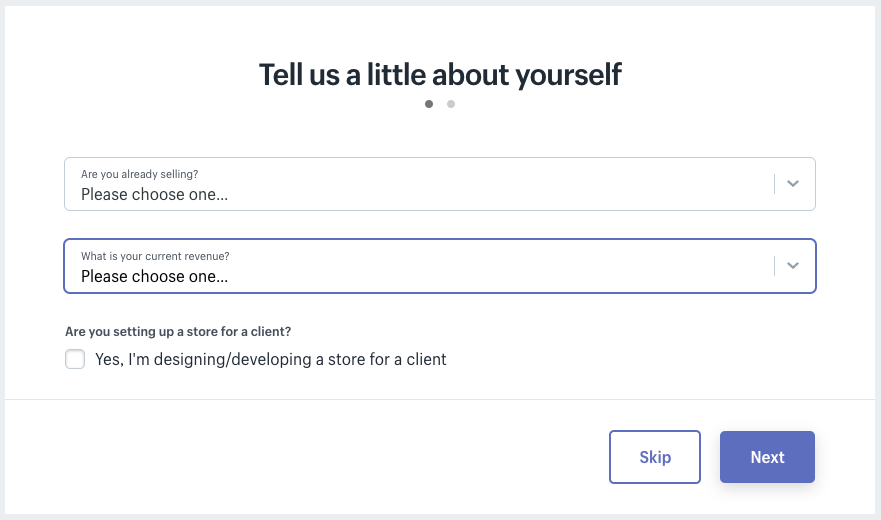
Click “Next” when you finish, the following page will ask you to fill in personal information such as your name, address and phone number, all of which is used to configure currencies and tax rates.

Click on the “Enter My Store” button, you will be navigated to the admin screen for your new website.
Check out this article to get a review about Online Shopify Store
Step 3: Back up your WooCommerce store
Data on your source store will stay unchanged before, during and after the migration with LitExtension. However, I strongly suggest you backup everything before you perform any major changes.
There are 3 ways to backup data on WooCommerce store: Manual backup, backups via your Web Host and backups using WordPress plugin. You can see detailed instructions here.
Step 4: Migrate data from WooCommerce to Shopify with LitExtension
It only takes you 4 simple steps and a few hours to perform a migration with LitExtension.
Side Note: Watch the video tutorial how to migrate WooCommerce to Shopify. Click here.
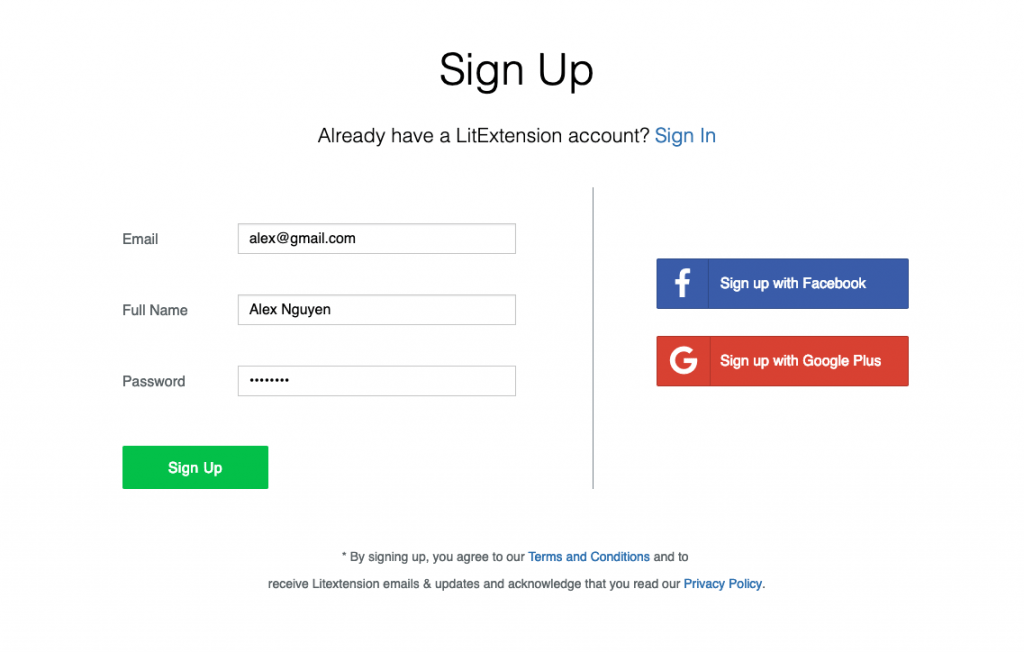
1. Create a LitExtension account
Register an account or Sign In on LitExtension site. You can also login easily by your existing Google or Facebook account.
2. Enter WooCommerce store information
On the Migration Page, click Create New Migration at the top right button on the screen. Select WooCommerce as your Source Cart Type and fill your store’s URL into the blank.
Then click LitExtension Connector to download the connector, extract the zip file and upload connector to WooCommerce’s root folder.
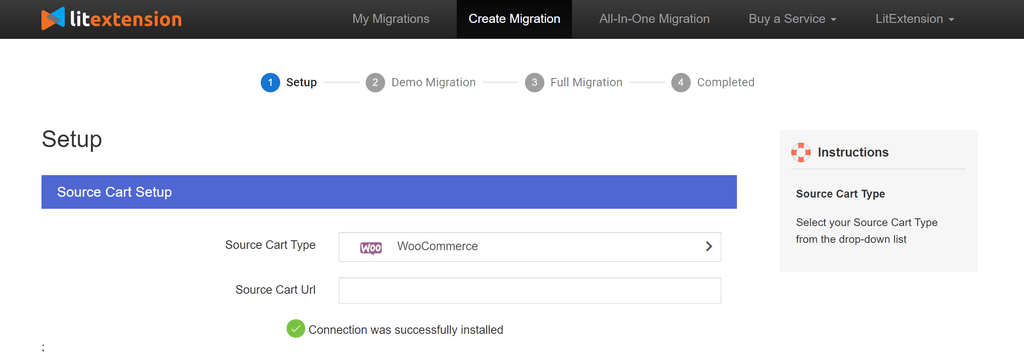
Right here, the Connector Installation will be automatically checked and informed on the screen without manual checking.
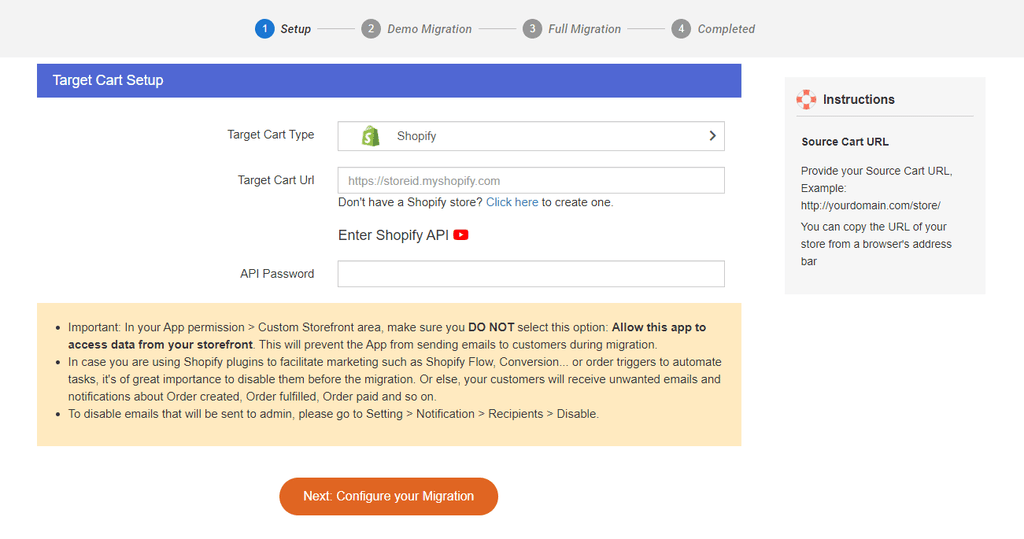
3. Enter Shopify store information
Select Shopify as Target Cart Type and provide source store’s URL into the blank bar. Follow the brief instruction to get your API info and fill them in the form.
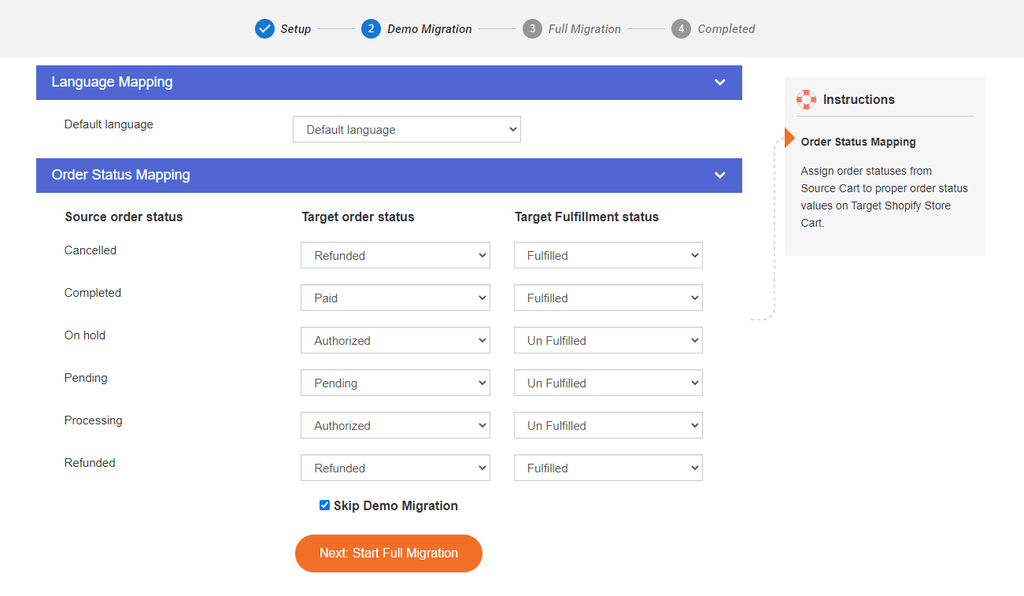
4. Select entities you want to migrate
Choose entities you want to migrate. You can select either all of them together or certain data. For example, only Products, Customers and Orders.
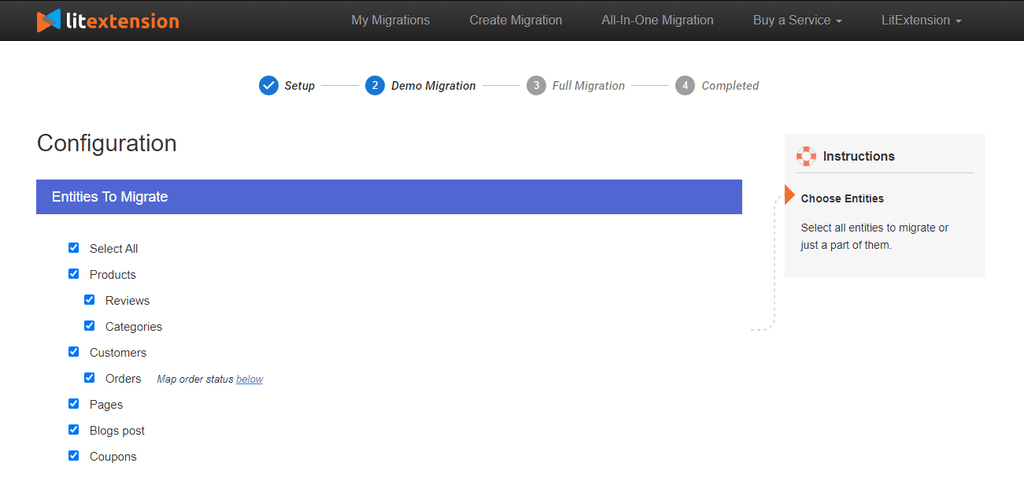
Besides, LitExtension provides some additional options to extend your migration possibilities such as create 301 redirects or preserve order IDs… In the next sections, languages, order status and customer group will be matched together to be displayed correspondingly in the new Shopify store.
5. Perform Migration from WooCommerce to Shopify
After you finish configuring your migration, you can try LitExtension free demo first to check whether the platform will work as you expected. Or else, you can skip it and run full migration from WooCommerce to Shopify immediately.
- Try Free Demo: Start your demo migration with a limited number of entities
- Perform Full Migration: Click on “Skip Demo Migration” button to perform full migration immediately.
When running migration with LitExtension, you don’t need to leave your browser or internet working. Just turn off everything or do other tasks, when the migration is complete, you will receive an email from LitExtension system.
Tutorial Video
LitExtension also made a tutorial video which helps you understand and visualize the migration process from WooCommerce to Shopify, check it out here:
After the migration, you can follow this checklist to finish setting up Shopify store. Basically, there are 6 tasks you need to do:
- Check if your data has been migrated correctly
- Design and set up Shopify store
- Change DNS and switch domain
- Set up your shipping
- Establish payment methods
- Try placing some orders
Read the checklist for detailed instruction!
Conclusion
Re-platforming is a complicated and very important process that needs to be taken care of carefully. This process can be tedious or pleasant depending on which way you do it. Therefore, I highly recommend you to go with LitExtension to save your time, money and effort.
Currently, PageFly and LitExtension are cooperating so that we can bring you, our customers, the best experience when building your business with Shopify. Therefore, if you are PageFly users, you can enjoy 20% OFF for LitExtension services.
In summary, this article has provided you with step-by-step guide and resources that you need before, during and after the switch. I hope that it can help you plan and execute the migration from WooCommerce to Shopify more easily and accurately.
This is the guest post contributed by Katie Nguyen from Liextension Team.
Katie is dynamic, hard-working and ambitious are those best words to describe myself. I love traveling to learn and share my experience and knowledge.

Related articles: